How to Build and Deploy a Modern-day Next.js Application
- User Experience

In the evolving landscape of web development, Next.js has emerged as a front-runner for building high-performance, scalable applications. This guide from Kapsys is designed to walk you through the process of building and deploying a modern-day Next.js application, covering everything from the basics of next build to advanced deployment techniques.
What is the Next.js App?
Setting up your Next.js environment involves a few key steps to ensure you have all the necessary tools and configurations for developing a Next.js application. Here's a simplified guide:
- Install Node.js and npm: Next.js requires Node.js, a JavaScript runtime, to execute JavaScript code outside of a browser. npm (Node Package Manager) is also needed to manage your project's packages. You can download and install Node.js and npm from the official Node.js website.
- Initialize a New Next.js Project: Once Node.js and npm are installed, you can create a new Next.js project. This is done by running the following command in your terminal:
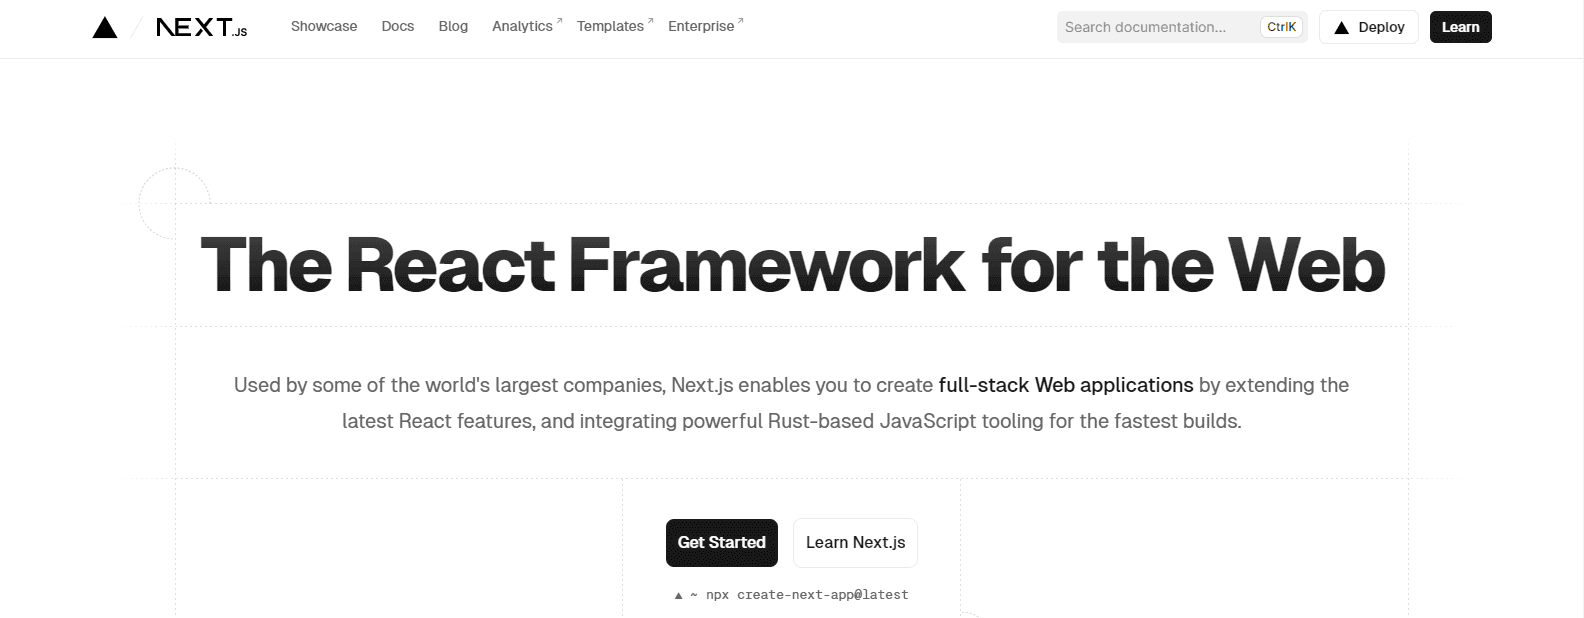
npx create-next-app@latest my-next-app- Replace
my-next-appwith your preferred project name. This command creates a new directory with all the necessary files and configurations for a Next.js project. - Navigate to Your Project Directory: Change your current directory to the newly created project folder:
cd my-next-app- Explore the Project Structure: Familiarize yourself with the basic structure of a Next.js project. Key directories include:
pages/: Contains your application's pages. Next.js uses file-based routing, so each file in this directory corresponds to a route.public/: Holds static files like images.styles/: For your CSS files.
- Run Your Next.js Application: To start your development server, run:
npm run dev- This command starts your Next.js application on a local development server, usually accessible at
http://localhost:3000. - Open Your Project in a Code Editor: Open the project folder in your preferred code editor (like Visual Studio Code) to start editing and building your application.
- Install Additional Dependencies (Optional): Depending on your project's needs, you might need to install additional packages using npm. For instance, to add a CSS-in-JS library, you would run a command like
npm install styled-components. - Begin Development: Now that your environment is set up, you can start developing your application. You can create new pages, components, and add functionality as needed.
Remember, Next.js is a powerful framework that offers a lot of features out of the box. As you become more comfortable with the basics, you can explore more advanced topics like API routes, dynamic routing, and data fetching methods provided by Next.js.

Building your Next.js application involves several key steps, from structuring your project to adding essential features. Here's a guide to help you through this process:
1. Structuring Your Project
- Pages: In Next.js, every file inside the
pagesdirectory becomes a route. Start by creating your main pages (like Home, About, Contact) as React components in this directory. - Components: Create a
componentsdirectory for reusable components like headers, footers, and buttons. - Styles: Use the
stylesdirectory to hold your CSS files. Next.js supports CSS Modules out of the box, allowing you to import styles directly into your components.
2. Developing Features and Pages
- Navigation: Implement navigation using Next.js's
Linkcomponent for client-side transitions between routes. - Layouts: Create layout components to wrap around your pages for a consistent look (like headers and footers).
- API Routes: If your app requires backend functionality, use API routes in the
pages/apidirectory to handle server-side logic.
3. Fetching Data
- Static Generation: Use
getStaticPropsfor static site generation. This function runs at build time and fetches data that can be passed to your pages as props. - Server-Side Rendering: Use
getServerSidePropsfor server-side rendering. This function runs on each request and is suitable for pages that need real-time data.
4. Styling Your Application
- CSS Modules: Leverage CSS Modules for component-level styles. Create
.module.cssfiles and import them into your components. - Preprocessors: Next.js supports CSS preprocessors like Sass. To use them, install the necessary packages and create
.scssor.sassfiles.
5. Optimizing Performance
- Image Optimization: Use the Next.js
Imagecomponent for optimized image loading. - Code Splitting: Next.js automatically splits your code into smaller bundles. Use dynamic imports (
import()) for further optimization, especially for heavy components.
6. Testing Your Application
- Unit Testing: Set up a testing framework like Jest to write unit tests for your components.
- End-to-End Testing: Use tools like Cypress for end-to-end testing of your application.
7. Preparing for Deployment
- Environment Variables: Set up environment variables for different deployment stages (development, production).
- Build Your App: Run
next buildto build your application for production. This command optimizes your app for the best performance.
8. Deploying Your Application
- Choose a Hosting Provider: Platforms like Vercel, Netlify, and AWS amplify are popular choices for deploying Next.js applications.
- Continuous Integration/Deployment: Set up CI/CD pipelines for automated testing and deployment.

How To Prepare for Deployment of a Modern-day Next.js Application
Preparing for the deployment of a modern-day Next.js application involves several critical steps to ensure that your app is optimized, secure, and ready for production. Here's a comprehensive guide:
1. Optimize Performance
- Code Optimization: Review your code for any inefficiencies or unnecessary computations. Utilize Next.js's built-in performance optimizations like automatic code splitting and lazy loading.
- Image Optimization: Use the Next.js
Imagecomponent to automatically optimize image loading. - Static Generation and Server-Side Rendering: Ensure that your pages are using
getStaticPropsorgetServerSidePropsappropriately to optimize load times.
2. Conduct Thorough Testing
- Unit Testing: Perform unit testing on your components to ensure they work as expected in isolation. Tools like Jest and React Testing Library are commonly used.
- Integration and End-to-End Testing: Use tools like Cypress or Selenium for end-to-end testing, ensuring that the entire application works seamlessly together.
3. Ensure Security Best Practices
- Environment Variables: Secure sensitive information like API keys using environment variables.
- Dependency Updates: Regularly update your dependencies to their latest versions to include security patches.
- Server-Side Security: Implement security measures for API routes, like rate limiting, to prevent abuse.
4. Implement SEO Best Practices
- Meta Tags and Titles: Ensure that all pages have relevant meta tags and titles for SEO.
- Accessibility: Make sure your application is accessible, which also positively impacts SEO.
- Server-Side Rendering: Leverage server-side rendering for content-heavy pages to ensure that they are indexed correctly by search engines.
5. Run next build
- Production Build: Execute the
next buildcommand to create an optimized production build of your application. This process includes minification, tree-shaking, and other optimizations.
6. Conduct a Pre-Deployment Review
- Code Review: Have your code reviewed by peers to catch any potential issues.
- Performance Auditing: Use tools like Google Lighthouse to audit your app for performance, accessibility, and best practices.
- Cross-Browser Testing: Test your application across different browsers and devices to ensure consistent behavior and appearance.
7. Set Up a Staging Environment
- Staging Deployment: Deploy your application to a staging environment that closely mimics production. This is crucial for testing the deployment process and catching any last-minute issues.
- User Testing: Conduct user testing in the staging environment to ensure that the user experience is smooth and error-free.
8. Prepare for Rollback
- Rollback Strategy: Have a plan in place to quickly rollback changes if something goes wrong after deployment.
9. Document the Deployment Process
- Documentation: Document the deployment process, including any necessary commands and environment configurations, for future reference.

Deploying your Next.js application involves several steps to ensure it is successfully launched on a hosting platform. Here’s a step-by-step guide to deploying your Next.js app:
1. Choose a Hosting Platform
- Vercel: Vercel, the creators of Next.js, offers a seamless deployment experience for Next.js apps with features like automatic deployments, serverless functions, and global CDN.
- Netlify: Another popular choice for static sites that offers continuous deployment from Git repositories.
- AWS, Azure, Google Cloud: For more control, you can use cloud services like AWS, Azure, or Google Cloud. These require more configuration but offer greater flexibility.
2. Set Up Your Project for Deployment
- Environment Variables: Configure environment variables in your hosting platform. These might include API keys or other sensitive data that shouldn't be included in your source code.
- Build Script: Ensure that your
package.jsonfile includes a build script ("build": "next build") which is used to create a production build of your app.
3. Deploy Using Vercel (Recommended for Simplicity)
- Connect Your Git Repository: Vercel allows you to deploy directly from your Git repository (GitHub, GitLab, or Bitbucket).
- Configure Your Project: Set up your project on Vercel by selecting the repository. Vercel automatically detects that it's a Next.js app and sets up build and deployment configurations.
- Deploy: Commit and push your code to the connected repository. Vercel automatically deploys your Next.js app and provides a live URL.
4. Deploy Using Netlify
- Connect Your Git Repository: Similar to Vercel, Netlify integrates with your Git repository.
- Build Settings: Configure build settings (
next buildandnext exportfor a static site). Netlify detects build settings but you might need to customize them for your project. - Deploy: Push your code to your repository. Netlify detects changes and automatically builds and deploys your Next.js app.
5. Deploy on Cloud Platforms
- Containerization (Optional): For platforms like AWS, you might containerize your application using Docker.
- Continuous Integration/Continuous Deployment (CI/CD): Set up CI/CD pipelines using services like AWS CodePipeline, Azure Pipelines, or Google Cloud Build.
- Configure Cloud Services: Configure services like AWS Elastic Beanstalk, Azure App Service, or Google App Engine. Upload your build or use the CI/CD pipeline to deploy.
6. Post-Deployment Checks
- Test the Live Application: After deployment, thoroughly test your application to ensure it's running correctly in the production environment.
- Monitor Performance: Use monitoring tools to keep an eye on your application's performance and address any issues that arise.
7. Set Up Domain and SSL
- Custom Domain: Configure a custom domain if you haven't already. Platforms like Vercel and Netlify offer easy integrations for custom domains.
- SSL Certificate: Ensure your hosting platform provides an SSL certificate for HTTPS encryption.
8. Continuous Deployment
- Automate Deployments: Set up your project for continuous deployment. This means any push to your main branch will trigger a new deployment automatically.
Conclusion: The Future of Next.js Development
Reflect on the journey of building and deploying a modern-day Next.js application. This section emphasizes the evolving nature of Next.js and how staying updated with the latest trends and features is crucial for developers.


