How To Build A Next.js Blog?
- User Experience

The fusion between Next.js and React.js takes center stage in the dynamic world of web development, offering a potent combination for crafting feature-rich and responsive blogs.
Join Kapsys as we explore how to build a Next.js blog. From the foundational concepts to troubleshooting intricate issues, each step is designed to unlock the full potential of Next.js in blog development.
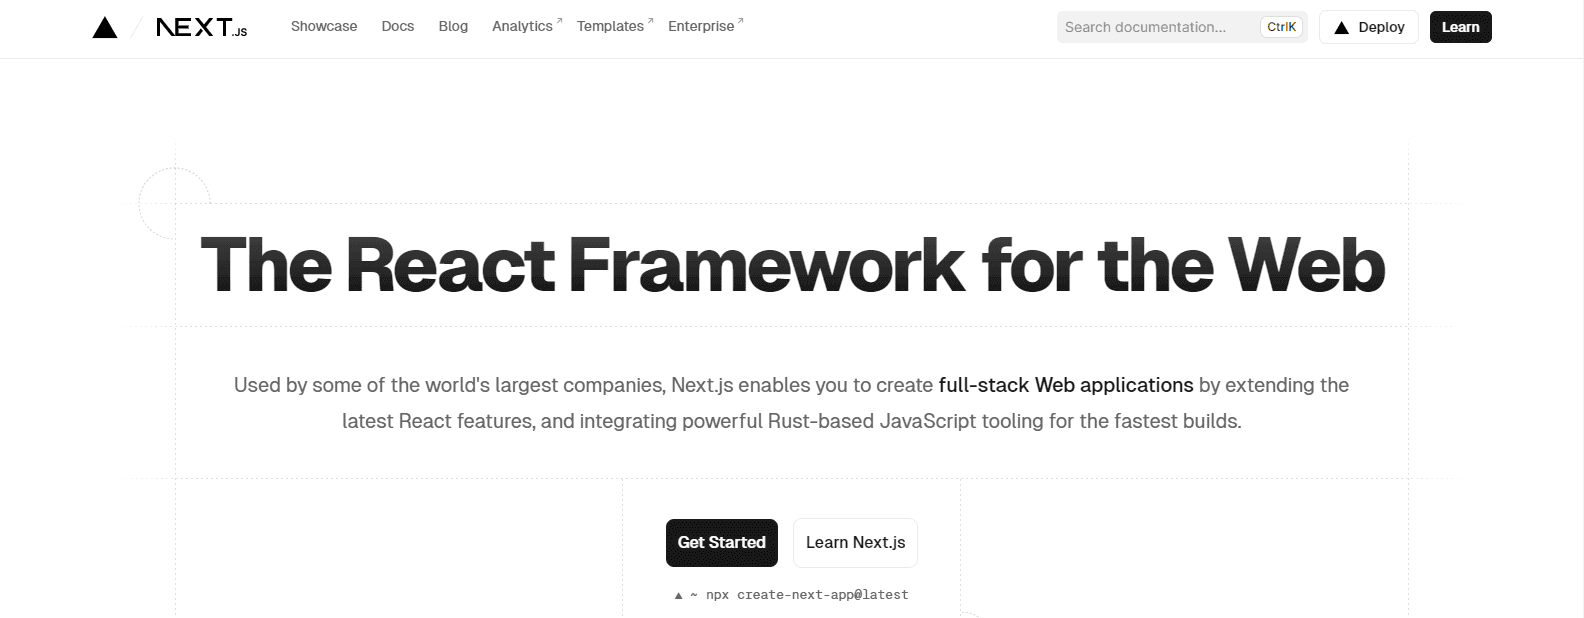
What is Next.js
Next.js, a React-based web framework, boasts features that position it as a powerhouse for creating dynamic and server-rendered React applications.
With automatic code splitting, efficient server-side rendering, and client-side routing, Next.js is preferred for developing high-performance blogs.
Read: How to Build and Deploy a Modern-day Next.js Application
Benefits of building a blog with Next.js
Embarking on the journey of building your Next.js blog brings many advantages that contribute to an efficient, dynamic, and user-friendly web experience.
Let's explore the critical benefits that make the Next.js blog an exceptional choice for crafting your digital narrative.
Server-side rendering
Next.js blog excels in server-side rendering, ensuring faster page loads and improved SEO by generating HTML on the server. This translates to enhanced user experiences and search engine visibility.
Automatic code splitting
The automatic code-splitting feature optimizes performance by sending only the necessary code to the client. This results in quicker load times, which is particularly beneficial for blog pages with extensive content.
Client-side routing
Thanks to its client-side routing capabilities, seamless navigation is a hallmark of the Next.js blog. This not only enhances user experience but also simplifies the navigation structure of your blog.
Modular development with React.js
The component-based architecture of React.js seamlessly integrates with the Next.js blog, enabling modular development. This modularity facilitates easier code management and scalability as your blog evolves.
Prerequisites Needed to Build a Next.js Blog
Before embarking on your Next.js blog development journey, ensure your development environment is primed. Here are the prerequisites:
Node.js and npm: Ensure Node.js and npm (Node Package Manager) are installed on your machine.
Text Editor/IDE: Choose a code editor or integrated development environment (IDE) for writing and editing code. Options include Visual Studio Code or Sublime Text.
Terminal: A terminal or command prompt to run commands. This is where you'll execute Next.js commands to build and run your blog.
These essential prerequisites will get you started with setting up your development environment for a Next.js blog. As you progress through the guide, you may explore additional tools based on your specific requirements.
Read: Steps To Upgrade Previous Versions Of Next.js

Step-by-Step Guide to Building a Next.js Blog
Let's look at the process of creating a fully functional Next.js blog.
Step 1: Set up a new Next.js project
Begin by creating a new Next.js blog project using the command:
npx create-next-app nextjs-blog
cd nextjs-blog
This command initializes a new Next.js project named nextjs-blog in the current directory.
Step 2: Install dependencies
To enhance your Next.js blog functionality, install additional dependencies such as react-markdown for rendering markdown content and gray-matter for extracting metadata.
Run the following command:
npm install react-markdown gray-matter
These packages will help you work with markdown files efficiently in your Next.js blog.
Step 3: Create a sample markdown post
Generate a sample markdown post within a dedicated directory. In the public folder, create a subdirectory named posts and add a markdown file, for instance, first-post.md.
This markdown file will serve as a template for your blog posts.
---
title: My First Post
date: '2023-01-01'
---

# Hello Next.js Blog

This is my initial blog post using Next.js!
The metadata section (enclosed in ---) contains information about the blog post, such as the title and date.
Step 4: Create a page to display blog posts
Develop a new page within the pages/posts directory to display individual blog posts. This page fetches content from markdown files, utilizing react-markdown and gray-matter. The file could be named [slug].js, where slug represents the unique identifier for each blog post.
This step leverages Next.js dynamic routes, allowing the creation of dynamic pages for each blog post.
Step 5: Create a homepage to list blog posts
Edit the pages/index.js file to create the homepage of your Next.js blog. This page lists all the blog posts, presenting them in a user-friendly format.
It utilizes the Link component from Next.js to link to individual blog posts.
This step involves fetching the list of posts and their metadata using the getStaticProps function, enhancing the blog's overall presentation.
Step 6: Run your Next.js blog
Finally, run your Next.js blog using the command:
npm run dev
This command starts the development server, allowing you to preview your Next.js blog locally. Visit http://localhost:3000 in your browser to explore the homepage and navigate to individual blog posts.
Following these steps, you've successfully set up a primary Next.js blog, allowing you to share your content dynamically and efficiently. Feel free to customize and expand upon this foundation to suit your specific needs.
Read: How To Implement Content Previews in Next.js
Best Practises and Troubleshooting
As you embark on the exciting journey of building your Next.js blog, encountering challenges is a natural part of the development process. Here are some detailed troubleshooting steps to help you navigate common issues:
Check dependencies
Ensure that your Node.js and npm versions align with the requirements of your Next.js project. Incompatibility between versions can lead to unexpected behavior.
Check the recommended versions in the Next.js blog documentation and update if necessary.
Review console errors
Scrutinize the browser console for error messages, serving as valuable clues to pinpoint issues in your code. Common errors include syntax issues, missing dependencies, or problems with data fetching.
Addressing these errors early in the development process ensures a more stable application.
Network requests
Inspect network requests to identify potential problems with data fetching, especially when integrating external data sources into your Next.js blog.
Use browser developer tools to review API responses and ensure the expected data is being retrieved. Handle errors gracefully to improve the resilience of your application.
Community forums
Tap into the vibrant Next.js blog community forums and resources for assistance.
The Next.js community is known for its collaborative spirit, and many developers are willing to share their experiences and help troubleshoot issues.
Forums like GitHub Discussions and Stack Overflow are excellent places to seek guidance.
Documentation
Consult the official Next.js blog documentation for comprehensive features, configurations, and troubleshooting information.
The documentation often includes specific solutions to common problems, making it an invaluable resource throughout your development journey.
Update dependencies
Regularly update your project dependencies, including the Next.js blog and related packages, to benefit from the latest features and bug fixes.
Outdated dependencies may contribute to compatibility issues and can be a source of unexpected behavior.
Code review
Perform a thorough code review to catch any logical errors in the Next.js blog, identify areas for optimization, and ensure consistency in your codebase. Tools like ESLint and Prettier can help maintain code quality and style.
Read: Choosing An Architecture Pattern for Next.js Applications

Conclusion
Congratulations on successfully navigating the intricacies of building a dynamic blog with Next.js and React.js.
The benefits of Next.js blog architecture and React.js's efficiency lay a robust foundation for creating a high-performing and visually captivating blog.
As you delve deeper into Next.js, consider exploring advanced features like authentication, comments, and social sharing to elevate your blog further.
The modular architecture you've established is a flexible canvas for seamlessly integrating new components and features.
Remember, the journey of a developer is an ongoing learning experience. Stay curious, explore new possibilities, and continually refine your skills as you embark on more exciting web development adventures.
Stay tuned with Kapsys for more actionable insights on Next.js coding!


