How To Install Tailwind CSS with Next.js
- User Experience

If you're a web developer looking to streamline your project with responsive design and efficient utility classes, Tailwind CSS and Next.js are a perfect match.
Join Kapsys while we explore how to install and configure Tailwind CSS in your Next.js project. By the end of this tutorial, you'll have the skills and knowledge to quickly create beautiful, responsive web applications.
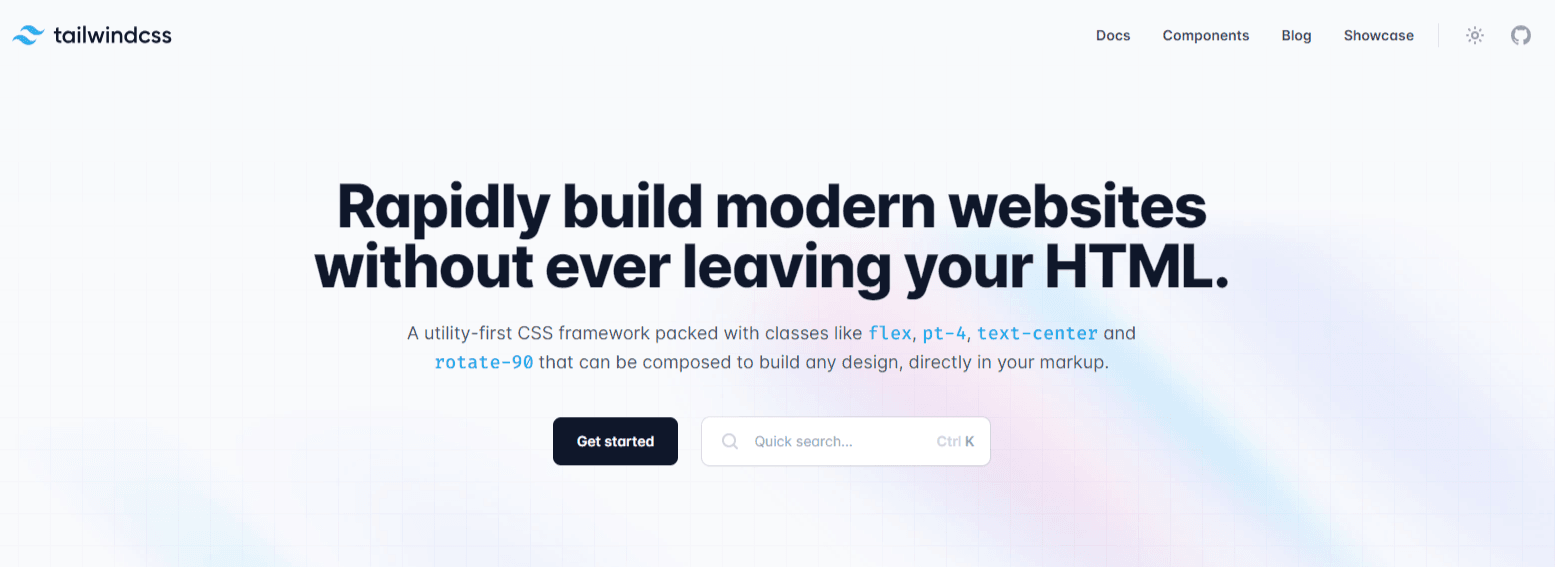
What is Tailwind CSS?
Tailwind CSS is a popular utility-first CSS framework that simplifies and streamlines the process of building user interfaces for web applications.
It's designed to help web developers create responsive and visually appealing designs with minimal custom CSS while maintaining a highly configurable and extensible system.
Why Choose Tailwind CSS for Your Next.js Project?
Before we dive into the installation process, it's essential to understand why Tailwind CSS is an excellent choice for your Next.js projects.
Rapid development
Tailwind CSS is known for its utility-first approach, allowing you to build complex designs quickly.
Instead of writing custom CSS for every component, you can use predefined utility classes to style your elements. This speeds up development and maintains a consistent design across your project.
Highly customizable
Despite its utility classes, Tailwind CSS is highly customizable. You can modify the default design system and create a unique look and feel for your application. Tailwind CSS offers many configuration options, enabling you to tailor it to your needs.
Responsive design
Creating a responsive web design is crucial in today's mobile-first world. Tailwind CSS provides a straightforward way to create responsive layouts, ensuring your application looks great on all devices.
Growing ecosystem
Tailwind CSS has a large and active community. This means you can find numerous resources, plugins, and components that make your development process even more efficient.
Now that we understand why Tailwind CSS is a great choice, let's get to the heart of this guide: installing and configuring Tailwind CSS with Next.js.
Prerequisites
Before you start, you should have the following set up on your system:
Node.js: Ensure that you have Node.js installed. You can download it from the official website.|
Next.js Project: Create a Next.js project if you haven't already. You can do this with the following command:
npx create-next-app my-tailwind-appNPM or Yarn: We'll use either npm or Yarn to manage packages in your project. If you don't have one installed, you can download npm as part of Node.js or install Yarn separately.
Now that we have the prerequisites let's start the installation process.

Step 1: Install Tailwind CSS and Dependencies
To start, navigate to your Next.js project directory and open your terminal. In your project's root folder, execute the following command to install Tailwind CSS and its dependencies:
npm install tailwindcss postcss autoprefixer
Or, if you prefer using Yarn:
yarn add tailwindcss postcss autoprefixer
These packages are essential for Tailwind CSS to work correctly.
Step 2: Initialize Tailwind CSS
With Tailwind CSS and its dependencies installed, you need to initialize it. Run the following command in your terminal:
npx tailwindcss init -p
This command generates a tailwind.config.js file and a postcss.config.js file. The tailwind.config.js file is where you can configure Tailwind CSS to suit your project's specific needs.
Step 3: Configure Your tailwind.config.js File
Open the tailwind.config.js file that was generated in the previous step. This is where you can customize Tailwind CSS to fit your project's requirements.
In this file, you can:
Add or remove plugins.
Define custom colors, fonts, and other design-related values.
Configure your purge settings to remove unused styles in production builds, optimizing your application's performance.
Here's a sample tailwind.config.js file to get you started:
// tailwind.config.js
module.exports = {
  purge: ['./pages/**/*.{js,ts,jsx,tsx}', './components/**/*.{js,ts,jsx,tsx}'],
  darkMode: false,
  theme: {
    extend: {},
  },
  variants: {
    extend: {},
  },
  plugins: [],
}
This configuration is a good starting point, but tailor it to your project's requirements.
Step 4: Create a CSS File
Next, you need to create a CSS file to include Tailwind CSS. In your project's root directory, create a styles folder if it doesn't already exist and add a tailwind.css file inside it.
mkdir styles
touch styles/tailwind.css
Open the tailwind.css file and add the following lines:
/* styles/tailwind.css */
@import 'tailwindcss/base';
@import 'tailwindcss/components';
@import 'tailwindcss/utilities';
This CSS file imports the base, components, and utilities styles Tailwind CSS provides.
Step 5: Include Tailwind CSS in Your Next.js Project
After setting up your CSS file, import it into your Next.js project. Open the pages/_app.js file and add the following import statement at the top:
// pages/_app.js
import '../styles/tailwind.css';
This will ensure that Tailwind CSS is applied to your entire Next.js application.
Read: Choosing The Best Next.js CMS in 2023
Step 6: Add a Custom Build Script (Optional)
If you plan to optimize your Tailwind CSS styles for production, you can add a custom build script to your package.json file. This will enable you to generate a minimized and purged CSS file.
Open your package.json file and add the following lines to the scripts section:
{
  // ...
  "scripts": {
    // ...
    "build:css": "postcss styles/tailwind.css -o public/build/tailwind.css",
    // ...
  },
  // ...
}
This script will generate a tailwind.css file in the public/build directory.
Step 7: Start Your Next.js Development Server
You're ready to start your Next.js development server with Tailwind CSS integrated. Use the following command to start your development server:
npm run dev
Or with Yarn:
yarn dev
Your Next.js project should now be up and running with Tailwind CSS.
Read: What is Code Splitting? - How Next.js Works
Step 8: Test Tailwind CSS
To verify that Tailwind CSS is working as expected, open one of your Next.js components (e.g., pages/index.js) and add some Tailwind CSS classes to your HTML elements:
// pages/index.js
function Home() {
  return (
    <div className="bg-blue-500 p-4">
      <h1 className="text-3xl text-white">Welcome to My Tailwind CSS Next.js Project</h1>
      <p className="text-gray-200">Get started by editing pages/index.js</p>
    </div>
  );
}

export default Home;
Save the file; your styles should be applied immediately in your development server.
Step 9: Production Build (Optional)
When you're ready to deploy your Next.js project with Tailwind CSS to production, you can use the following command to build your application:
npm run build
Or with Yarn:
yarn build
This command will generate a production-ready build in the ./out directory.
Troubleshooting Tailwind CSS with Next.js
While integrating Tailwind CSS with Next.js is straightforward, you might encounter some issues.
Here are some common issues developers encounter when setting up Tailwind CSS with Next.js and how to troubleshoot them:
1. Styles are not applied
After integrating Tailwind CSS into your Next.js project, you notice that the styles must be applied as expected.
Solution:
Ensure you've imported the tailwind.css file into your pages/_app.js, as shown in the installation steps. Check for typos and ensure that the file paths are correct.
Verify that your Next.js development server runs with npm run dev or yarn dev.
Ensure you haven't accidentally disabled styles by setting enabled to false in your tailwind.config.js file.
Double-check your HTML elements to ensure you've correctly applied Tailwind CSS classes. Common mistakes include typographical errors or using the wrong class names.
2. Custom styles aren't working
You've customized your tailwind.config.js file, but the changes take little effect.
Solution:
Ensure you've restarted your Next.js development server after changing your tailwind.config.js file. Customizations may only be applied once the server is restarted.
Check that your custom styles in the tailwind.config.js file are correctly defined and don't conflict with existing styles.
Verify that you're using the correct class names in your HTML elements to apply your custom styles.
3. Styles are not responsive
Responsive styles are not working as expected on different screen sizes.
Solution:
Confirm that you've used responsive class names correctly. For example, sm:text-xl applies the text size for small screens.
Check if you've included the necessary @media breakpoints in your custom tailwind.config.js file if you've made significant modifications to the default breakpoints.
4. Production build issues
You need help building your Next.js project for production with Tailwind CSS.
Solution:
Ensure you've added a custom build script, as mentioned in the installation steps. Running npm run build:css or yarn run build:css should generate the necessary CSS files for production.
Check that the paths and configurations in your postcss.config.js and tailwind.config.js files are correctly set up for production.
5. Slow build times
The development build process becomes faster and more manageable as you add more components and styles.
Solution:
Tailwind CSS can generate a large CSS file, especially with many utility classes.
To remove unused styles in production builds, you can mitigate this by using the purge option in your tailwind.config.js file. Be careful when purging, though, as it might remove styles used dynamically in your project.
6. Incompatibility with other libraries
You might encounter compatibility issues when using Tailwind CSS with other libraries or third-party components.
Solution:
Some third-party components may not work seamlessly with Tailwind CSS due to class conflicts or CSS-in-JS. In such cases, you may need to create custom styles or consider alternative libraries.
7. Browser-specific problems
You notice that your styles work well in some browsers but not in others.
Solution:
Check if you're using CSS features not supported by specific browsers. Tailwind CSS aims to provide cross-browser compatibility, but occasionally, browser-specific issues may arise. In such cases, consider using vendor prefixes or alternative styling approaches.
8. Community and documentation
When you encounter a problem or need assistance, you might need help locating the solution or explanation you need.
Solution:
Tailwind CSS has a vibrant community and extensive documentation. Search the forums and consult platforms like Stack Overflow for answers to common issues. You can also engage with the community to seek help or advice.
Troubleshooting issues with Tailwind CSS and Next.js is an integral part of the development process.
Understanding these common problems and their solutions allows you to navigate challenges more effectively and make the most of this powerful combination for your web development projects.

Conclusion
Following these steps, you can integrate Tailwind CSS into your Next.js project. You're now equipped with the tools for faster development, responsive design, and a customizable system for your web applications.
The union of Tailwind CSS and Next.js empowers you to easily create modern and efficient web applications, whether starting a new project or enhancing an existing one.
Now it's your turn to harness the potential of Tailwind CSS and Next.js for your web development projects.
Keep up with Kapsys to unleash your creativity and build something extraordinary!


